The Jetwing Parts List.
- Robareeno

- May 14, 2023
- 3 min read
Updated: Aug 17, 2025
What you will need to complete this model:
The following items are all parts that I used to create the prototype version of this model. Note that I've transparently listed the items with Amazon links that I actually purchased from Amazon. These links cost you zero to use, and they are the sole and teeny tiny revenue stream for this whole website. Please consider using them unless you have a local hobby shop. By all means, you should support the local hobby shop as sadly they are going away. The people that have the passion to run the local shops are a source of experience, and encouragement that simply cannot be overlooked.
Radio: This model requires at minimum a 3 channel radio system that can digitally mix the elevon servos for operation as elevators and ailerons. You will need throttle and 2 servo capability. I have come to prefer multi protocol radios and this one is the best in my opinion.
Amazon link: https://amzn.to/3YpTCVL
Receiver: A micro receiver compatible with your radio system. The prototype used this:
Amazon Link: https://amzn.to/3s4UNxI
Printer Filament: Lightweight PLA is a must! Of the ones I've tried ColorFabb is the clear winner. In my experience the flow rate can be dialed far further back creating a lighter part, the color prints better, and the filament simply prints cleaner than others. I liked it so much I stocked up on it.
Amazon Link: https://amzn.to/3UtAJQy
The other generic brands of Lightweight PLA filament are growing, but I have no experience using them. Others have had great things to say.
Amazon Link: https://amzn.to/3UxNDgs
Adhesive: Thin CA glue. This has become my go to brand. Be careful it is very thin, but it sets very quickly. It's good for weeping in between the seam of 3D printed parts and getting a good bond. They also make a medium viscosity that I also use, but far less often.
Amazon Link: https://amzn.to/3OBx9k6
Also I've used Gorrilla glue with success bonding the clear canopy to the canopy frame. CA will also work but tends to cause a haze on the canopy.
Amazon Link: https://amzn.to/4mn3VoE
Tape: A very strong and clean gapless hinge for the elevons is created by using a thin strip of clear mailing tape and CA bonded. Additionally you may wish to use this or simple masking tape for temporary parts alignment prior to bonding 3D printed parts together. https://amzn.to/3NV3frF
Motor: I designed this plane around the Powerfun 50mm EDF ducted fan. You are going to want the 4S version. Amazon Link: https://amzn.to/3QyGCuN
Batteries: I specifically designed this model to run on the Ovonic 2s lipo 2200 MAH. batteries. Amazon Link: https://amzn.to/43YxFxX
ESC: Check with the motor spec's you chose but we used a 40 amp brushless ESC with BEC.
Battery: This plane requires two 2S LIPO batteries in the wings and wired in series to create the 4S required. Link to what we used: Battery box dimensions are 36mm x 107mm x 21mm.
Servos: Two SG90 micro servos are required. Note that these are included in the optional kit.
Amazon Link: https://amzn.to/3s1F8ix
Linkages: the elevons will require one ball linkage each due to the angle to the servo.
Amazon Link: https://amzn.to/444P6gD
Screws: You will need a total of ten servo mounting screws. two are required for each servo, two for each battery bay lid, and two for the canopy.
FPV:
Optionally you may chose to include an FPV camera. I designed the clear vacuum molded canopy to fit over the Runcam2 series of cameras. There is also a mount in the STL files for this camera. I Chose this 4K version shown below:
Amazon Link: https://amzn.to/3OtXIYb
There does happen to be a slightly less expensive version that is not 4K:
Amazon Link: https://amzn.to/3YrO4tA
Video Transmitter. This is the one I purchased but there are many other options depending on your equipment needs.
Amazon Link: https://amzn.to/4mn3VoE

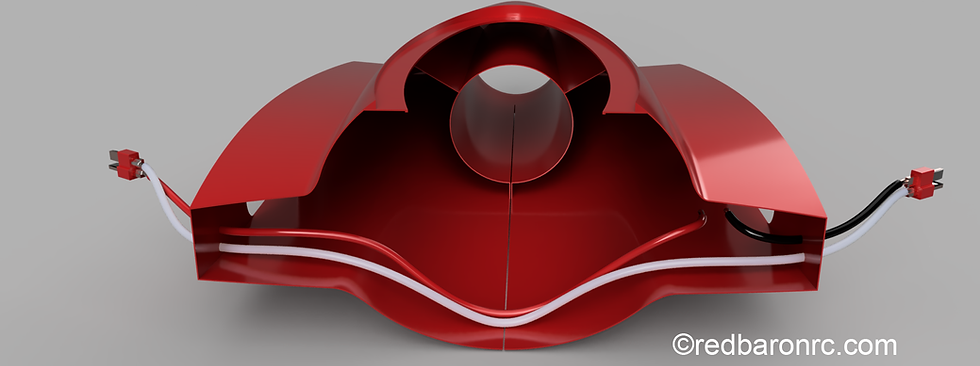
Complete printed components overview
Conclusion:
That is it for the Parts list! Check the main blog here for the next steps. Feel free to reach out to us with any questions. We will attempt to clarify the construction blog including your input as much as possible.
Comments