Jetwing Electronics installation and pre flight.
- Robareeno

- May 15, 2023
- 2 min read
Updated: Aug 26, 2023
Your almost there, let's put in the radio, batteries, and check our balance.

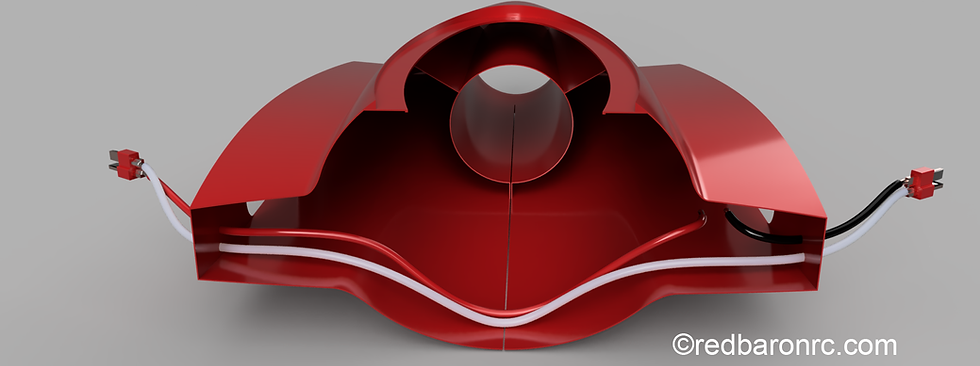
Series wiring harness overview. Pay attention to polarity.
Radio: This model requires at minimum a 3 channel radio system that can digitally mix the elevon servos for operation as elevators and ailerons. You will need throttle and 2 servo capability. I have come to prefer multi protocol radios and this one is the best in my opinion.
Receiver: A micro receiver compatible with your radio system. I have been using the Lichifit 4 channel receiver as a great no nonsense little micro receiver.
Servos: You will need 3 sg90 mini servos. We used these:
Servo Mixing:- This can get confusing but check out this great video here:
Linkage and control rods:
On the fuselage rear body there are indentions on each side. all of these indentions must be cut away after the fuselage is assembled. The indentions exist so that you can cleanly print the model with lightweight PLA. Lightweight PLA does not retract well so printing something with a hole is a big no no. Cutting the hole afterwards is much cleaner. The rectangular indentions in the back are where the elevon servos will be mounted. The control horns should be set 90 degrees in the upwards position. See Images of the control assembly:

Optionally I chose to include an FPV camera. I designed the clear vacuum molded canopy to fit over the Runcam2 series of cameras. There is also a mount in the STL files for this camera.
Conclusion: That is it for the electronics! Check the main blog here for anything you may have missed, but at this point it's time to go fly! Feel free to reach out to us with any questions. We will attempt to clarify the construction blog including your input as much as


Comments