Main Wing for the Mini Extra 300
- Robareeno

- Jul 12, 2022
- 2 min read
Updated: Aug 26, 2023
How to print and build the main wing of the Extra 300. Note, this blog page is for the paid version of this plane with the full fuselage, not the profile version.
Center Spar:
Print setting: "Solidbody LWT"
Yes I did mean LWT. Originally, I only intended to build a full fuselage for this model, but right off the bat things required tweaking and slight modifications. This spar assembly is actually lighter than the original, but it uses a small winding of kevlar, or upholstery thread wrapped around it for significant reinforcement. The result is it is stronger and lighter than the original.
Right Spar:
Print setting: "Solidbody LWT"
Orientation: Should lay flat on its back on the build plate.
Supports: on because there are tabs that connect to the center spar that will need them.

Left spar: Look at the picture above in a mirror and follow the directions again. in fact you can use the mirror command within Cura to mirror the left spar making it the right spar, or left wing making it the right wing, etc.
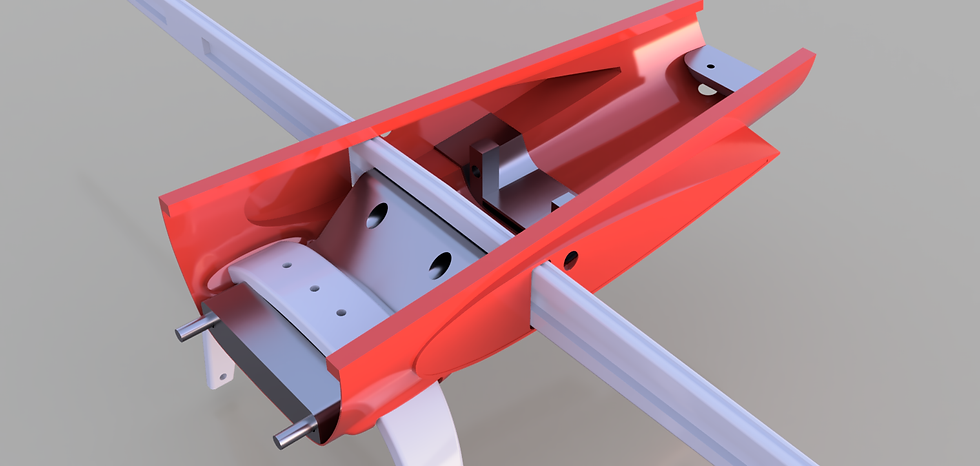
Spar Assembly:
Below is a closeup of the fuselage center section. The wing spar and landing gear are illustrated in white. The wing attach and fuselage attach parts as well as the aileron servo tray are illustrated in metal. This is by far the most complicated assembly of this entire model, but you will find that it prints and goes together quite cleanly.
Wing Root:
Print setting: "Solidbody LWT"
Orientation: If you lay these parts on the build plate outer edge down, you will not need to provide any printing support.
Main Wing:
Print setting: "Single Wall LWT"
Orientation: align inboard side to the build plate and print vertically.

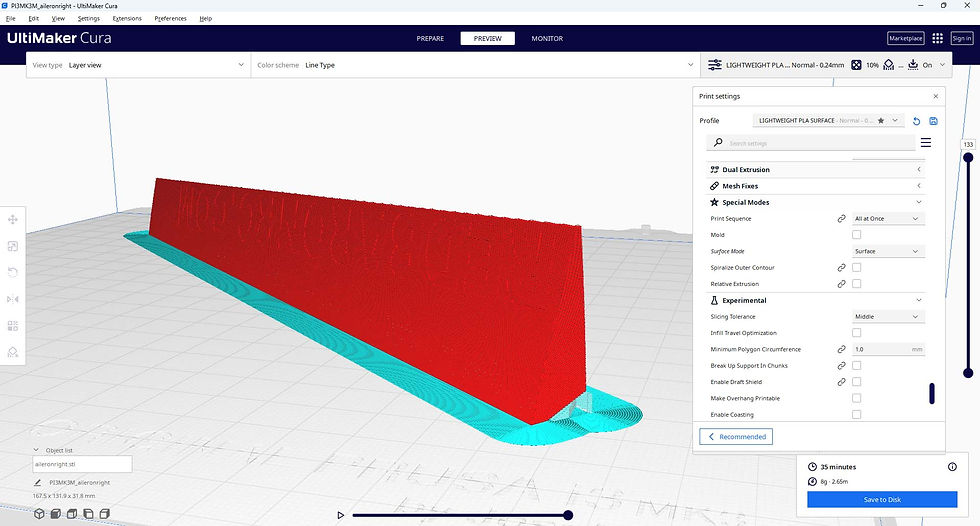
Aileron:
Print setting: "Single Wall LWT"
Orientation: Align the leading (hinge) edge of the aileron to the build plate.
Supports need to be on.

Aileron Horn:
Print setting: "Solidbody PLA"
Orientation: The side of the hornthat attaches to the wing should be flat to the build plate. Note, the below image shows them as resin printed. I did this as an experiment. It actually worked out just fine.

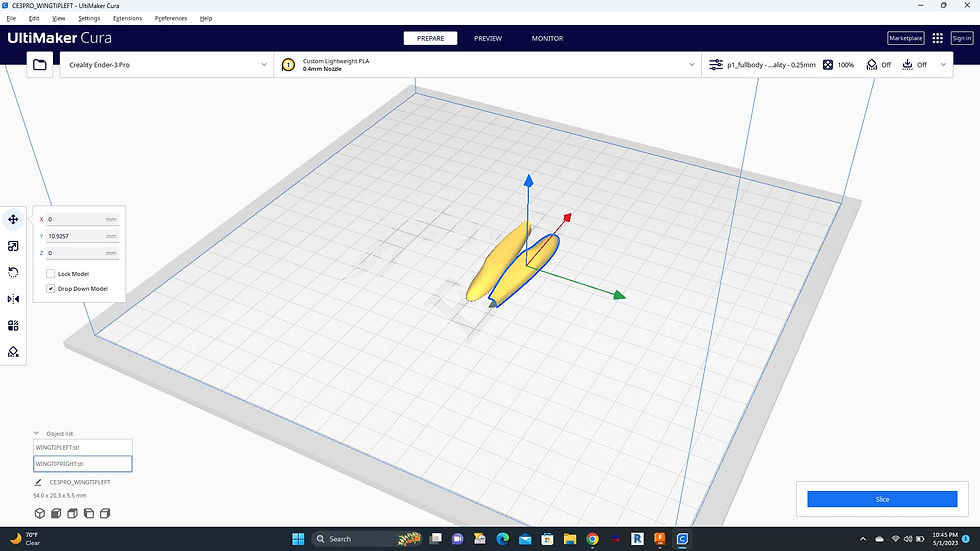
WingTips:
Print setting: "Solidbody LWT"
Orientation: The side rotate the tips so that the side that connects to the wing is at the bottom.
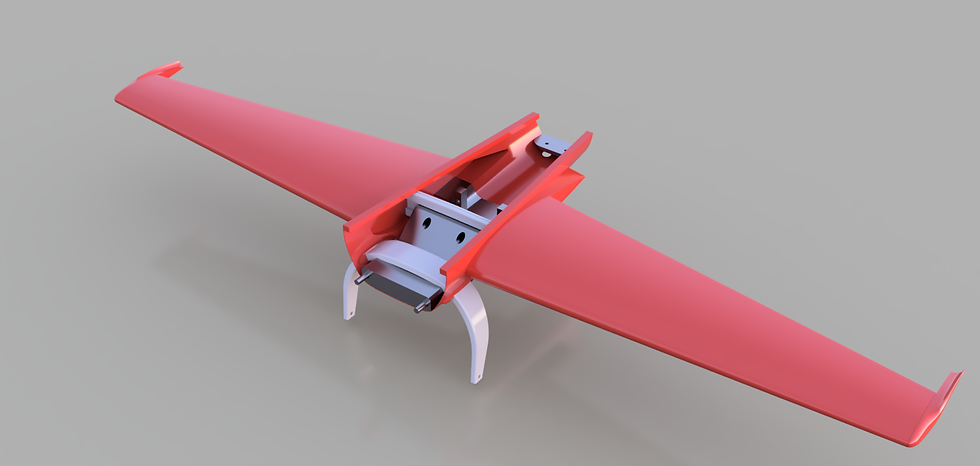
Completed Wing Assembly Below:
Conclusion: That is it for the Wing Assembly! Check the main blog here for the next steps. Feel free to reach out to us with any questions. We will attempt to clarify the construction blog including your input as much as possible. Also please check out or new community forum. Feel free to post pics, ask questions, or help others.


Comments